Finally I fixed my childhood Metroplex. Something I have been meaning to do for a long time, and my dad failed to do back in 1990.
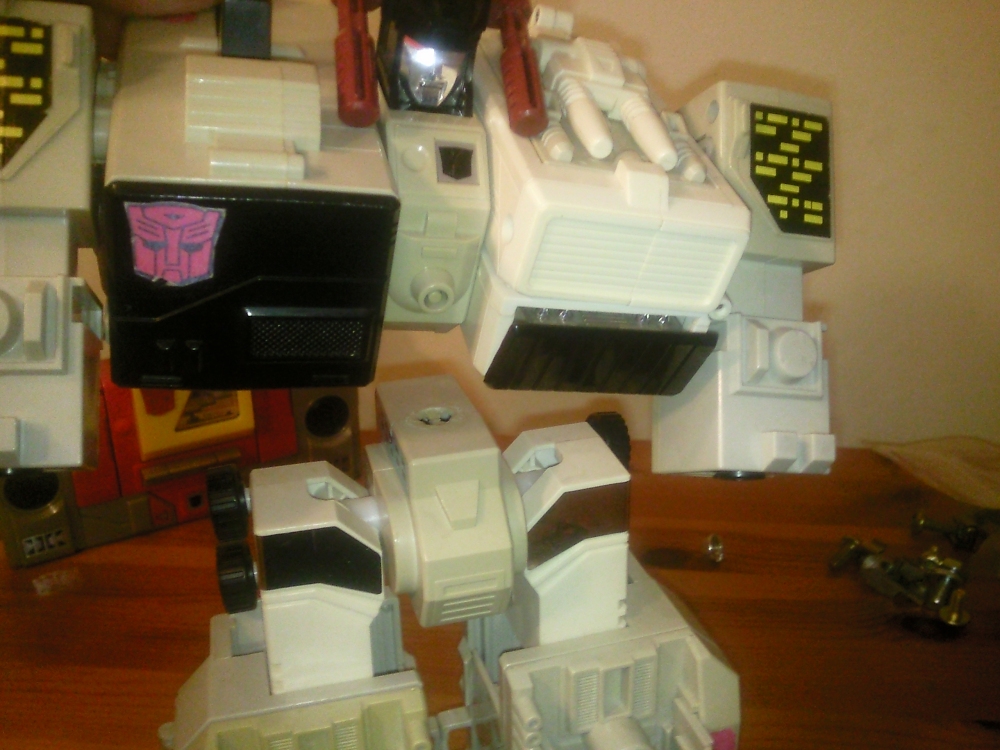
He is only one of the (probable) 500,000 broken waist-ed “Metroplexi” in the wild, and I thought this might come in handy for other people who have fallen foul of the “let’s make the most important joint in the toy the weakest!!!” Takara school of thought. I decided to repair rather than replace, as I find something satisfying about fixing, or bodging, my childhood figures rather than grafting parts over or buying the reissue. First of all lets set the scene, with a picture of failure…


Now to business, as you can see the previous repair efforts, by my father with a wodge of superglue, were never going to work. Once the plastic has snapped from the crotch piece, it is junk, there is too much force involved. I am going to use a nice big screw and bolt to replace this weakness. Now to take the figure apart.
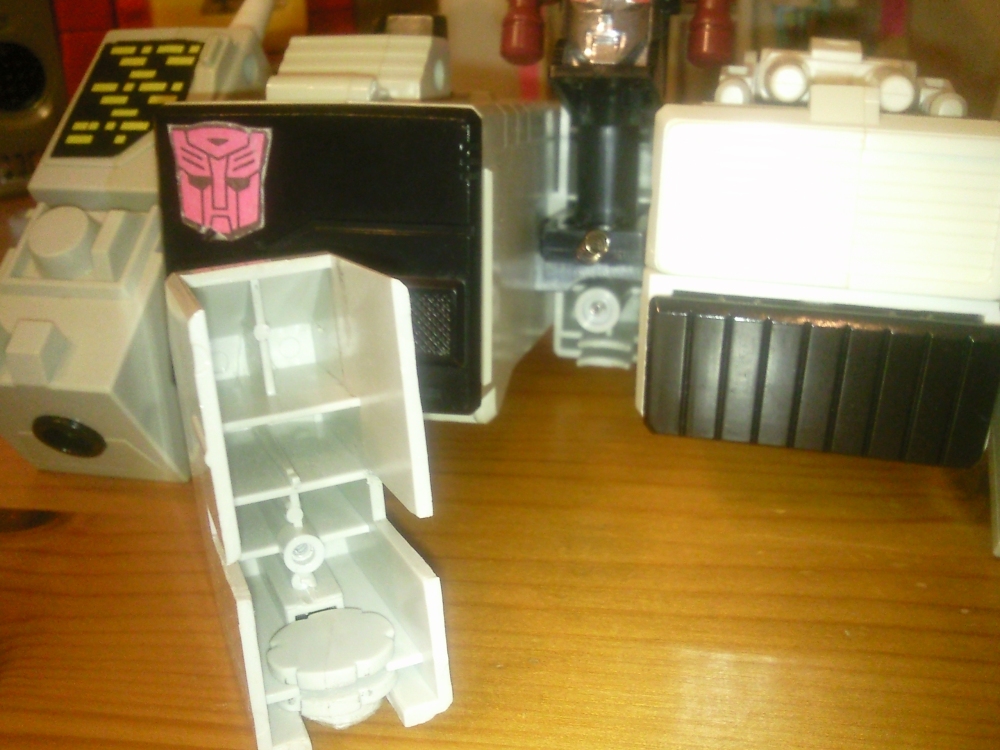
Two screws is all it takes, one on the chest, one on the crotch, you will need a long screwdriver with a Phillips head, those thin silver ones you get in sets are ideal. Be careful when you are undoing the chest not to let Metroplex’s head fire into orbit, as mine did and I had to spend 10 minutes spring hunting. Here is what you will find on the inside:
Inside the chest, the remains of the crotch connection can easily be removed, it just slides out, along with 90’s crispy superglue.
Inside the waist, is a large plastic protrusion which was originally connected to the broken piece and WTF….. some Blue Tac, how did that even get in there? It had never been taken apart before, as I had to break the stickers, and I’m sure it wouldn’t fit through the break hole, was it my dad with an extra poor fixing idea or was it left in during manufacture:
Now to fit the “nut”, or as I have used, a random piece of bracket to give it more weight and stability, you will have to remove the plastic protrusion in the waist. I did this with a scalpel and some needle-nose pliers. Here is the area you need to remove and the “nut” I put in:
Afterword, it should like this, but upside down, sorry about that, it now has enough room inside for my fittings:
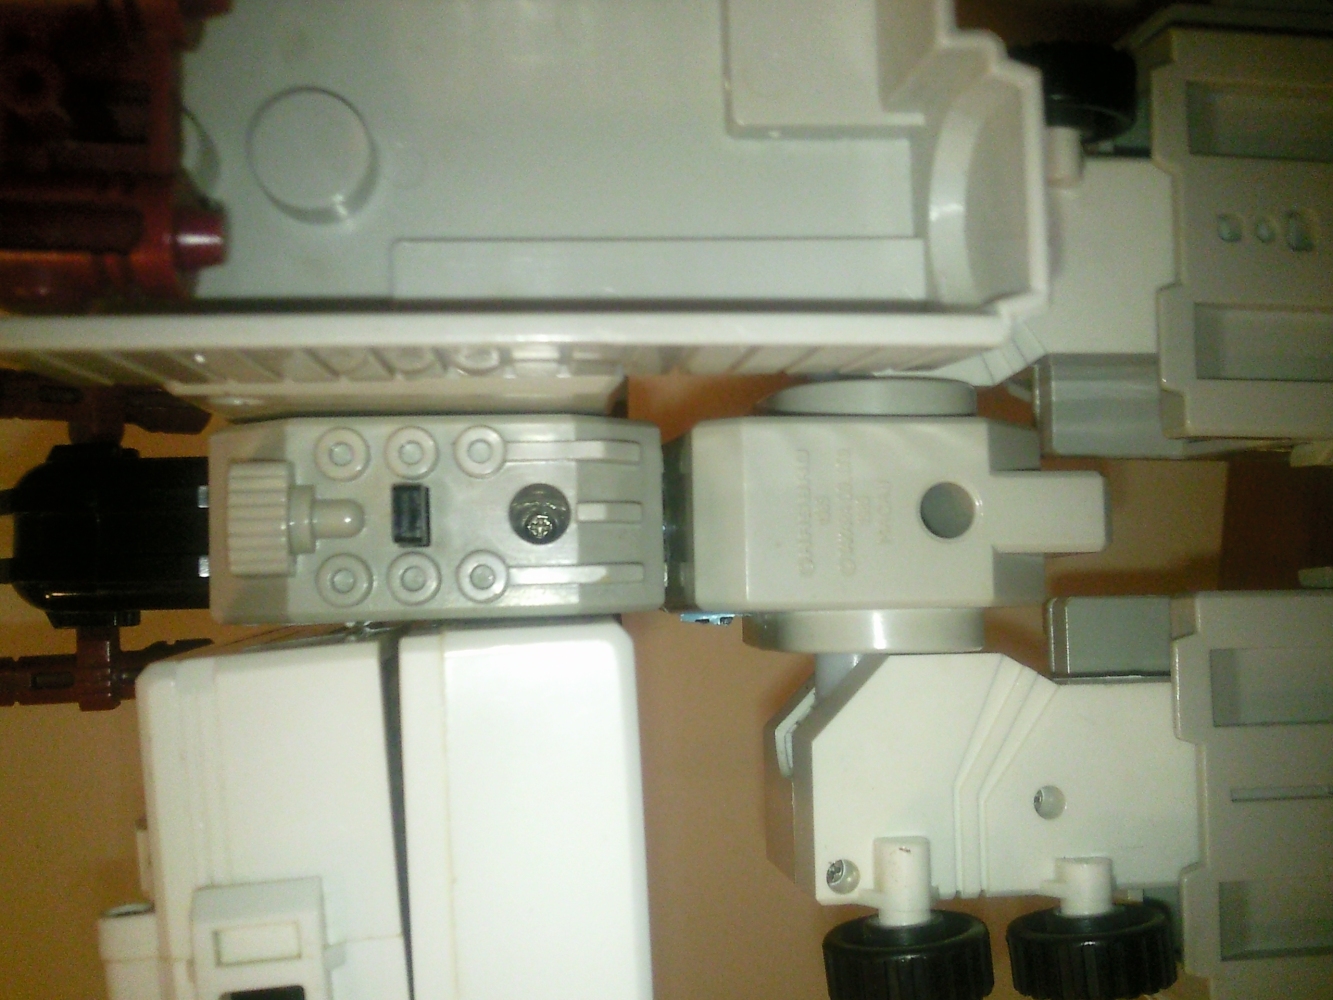
Inserting the screw and a washer into the chest was easy, you just need to get one the correct size, the washer fits into a groove and the screw head above it. The original piece if you look back had two heads so to speak, so the washer basically acts as the lower one:
With the crotch excavated, I put another washer and the nut in there, in retrospect some sort of free moving locking nut might be better as it would never unscrew, but I just used what I could find and found with the larger bottom metal piece it had more stability:
Now all that was left was to screw the chest back together:
Then ensure the gap was ok to the crotch, adjust the nut, and reattach the waist:
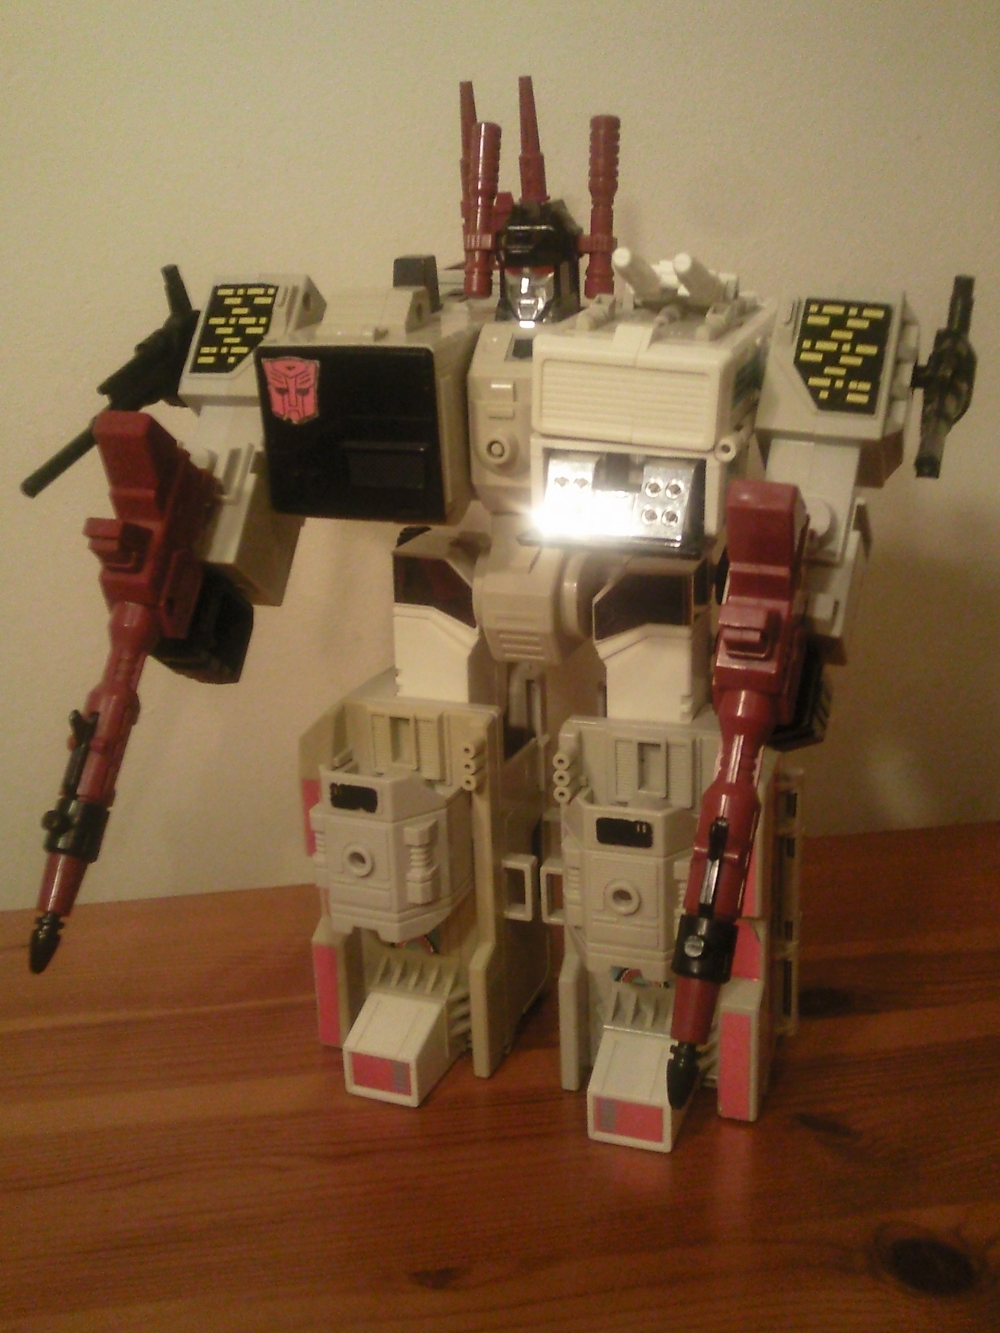
Finally! My Metroplex in one piece again, with more stability, weight and die cast :D
In overview, Metroplex from the waist upwards now acts a bit like a bottle top, rotate it left and you unscrew him, so I have to be careful not to over-loosen him or over-tighten him and cause damage. A locking nut of some sort would solve this problem, combined with a screw with only a shallow thread, but a long shaft, would allow Metroplex to swivel and not screw. However, I could not find these parts in the correct size. I am still happy with the result and he transforms fine, he also no longer causes a catastrophic domino effect by his chest falling over on my display shelf. Here is the equipment I used, and the chaff left over:


Nice. Any ideas on fixing the broken waist on a G1 Mirage? (By the way, when I found your site, I thought I was looking at mine for a second…)
I haven’t had a broken one, but there is always a fix (or bodge) you can do!
I have had great success doing something similar to mirage. I have a hardware store with a massive amount of small fasteners. I use a small screw, washer and nut and I super glue the nut so it wont spin off. You just have to drill through the where the knob broke off using a drill bit the exact same size as the hole. The hardest part is getting his chest apart without braking the shoulder clips. I’ve fixed about 7 now. I let people know they are repaired and they are happy to get them for less than what an unbroken would cost them.
Nice repair it looks great… I miss my old metroplex
Way to go, man! Hope mine never breaks, I have one of the earlier ones with one kind of vulnerable screw. Rubber tires too, mmm good.
This is awesome my Metroplex is also snapped on the waist. Seeing I’m doing car mechanics at college I’m sure I’ll find some bits like what you have used. Somehow his hands have gone missing as well which has really annoyed me !
I’ve started going through all my transformers cleaning each one up. I’m so gutted that so many are damaged (my G1 mirage is also in half) but I think I got most of them from boot fairs damaged anyway (in the chance that I ever come across another to swap parts etc..)
Was 20 years ago so hard to remember. I just spent about 4 hours last night cleaning Scorponok lol
Thank you for the writeup (albeit over a decade ago). I used a M8 20mm screw with a lock nut. I used 5 washers to make it work. Due to the leg assembly, the washers didn’t fit well, so one went in the chest piece (as pictured in the blog), and then 4 went between the chest and legs. I used black ones and the kids think it looks pretty cool. Seems to be very sturdy. Thanks for the inspiration to finally fix our old Metroplex.